

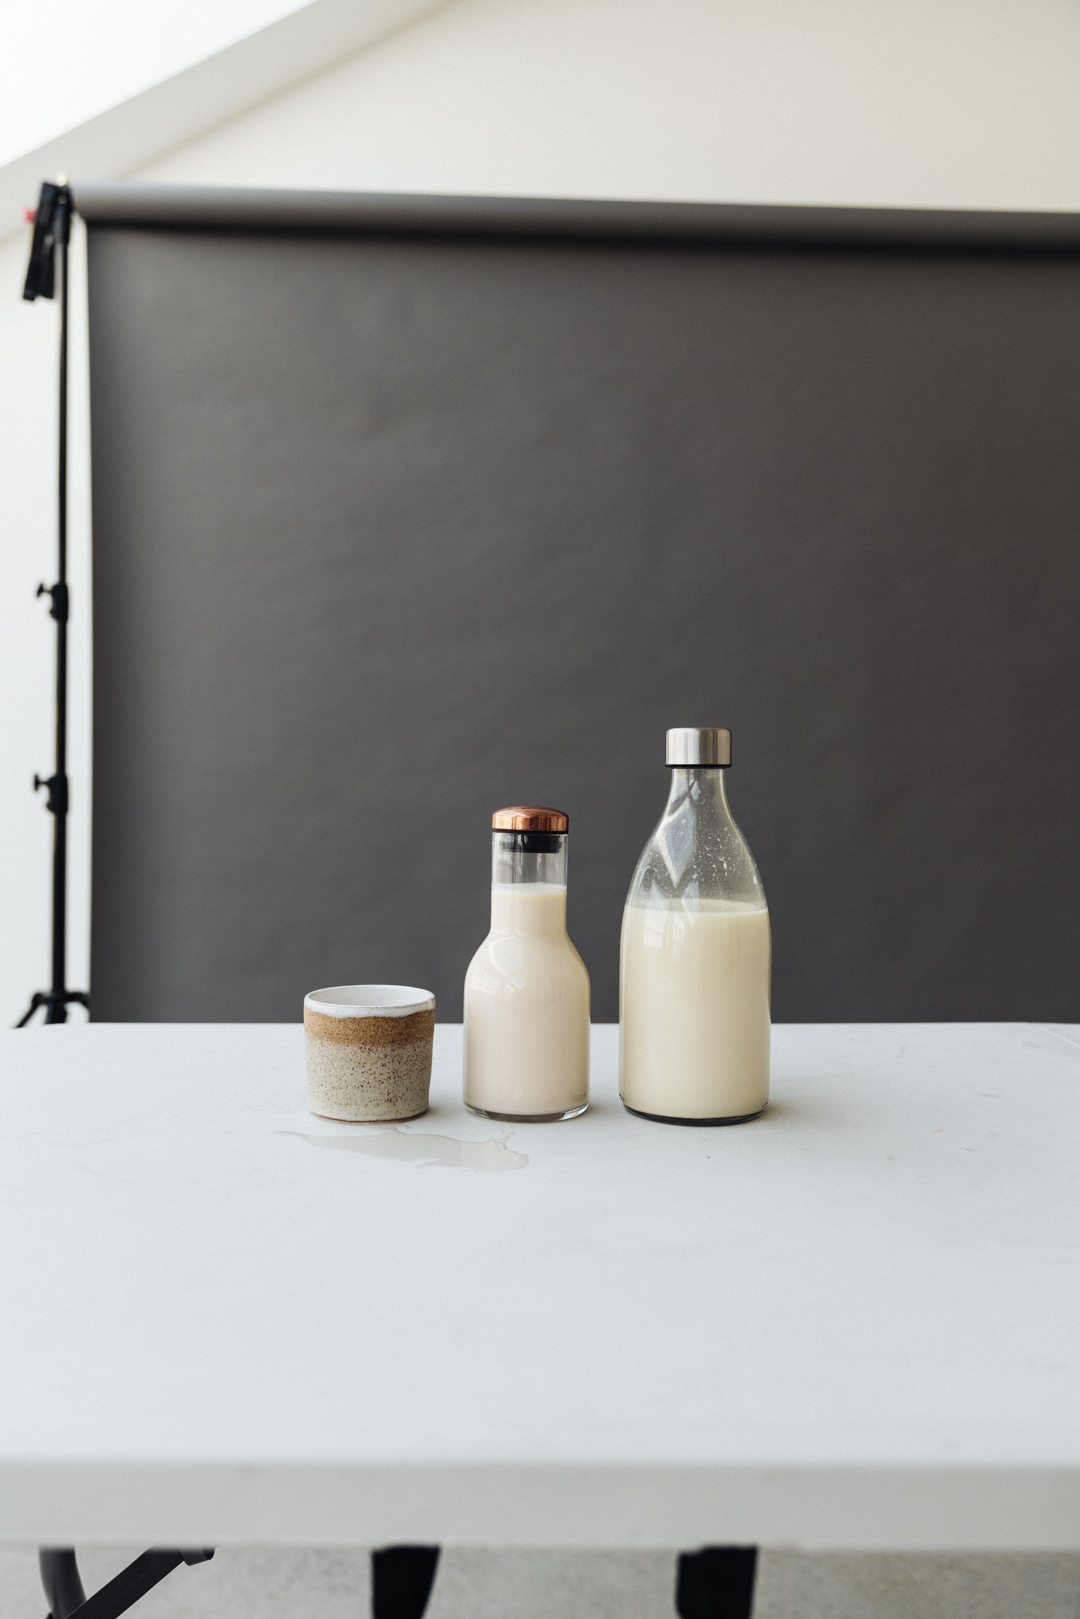
Homemade Nut Milk
Simple and easy way of making your own nut milks at home to use with porridges, smoothies, various types of drinks, pancake dough or baking. You can apply the same technique to basically any kind of nuts or seeds thus the information you find here is versatile. Use it wisely – make your own nut milk.
The idea is very basic. Use 1 cup of nuts or seeds with 4 cups of water (1:4 ratio).
You can use raw or toasted nuts for a slightly different flavour profile. You can then either sweeten and even add salt to your nut milk or leave it plain. Once you’ve figured what works best for your preference, try experimenting with different types of sweeteners as they also affect the final flavour. Unexpected, I know, but there’s lots to play with.
Soaking nuts in cold water before blending is often recommended, although it is optional. For harder nuts like almonds and hazelnuts try 6 hours, for softer nuts like cashews 1-2 hours will be enough. Soaking helps you get a creamier nut milk as your blender can process the nuts better and extract more oil. Soaking also increases nutrient availability and reduces phytic acid, so this step is definitely worth considering. This does not mean you will like the soaked nut milk consistency better, therefore give both options a go as you’re starting out. I’ve noticed that toasted nut milks tend to go rancid quicker than those made with raw nuts, thus have that in mind. Always store in airtight bottles or containers in the fridge and shake well before use. Homemade nut milks separate easily as they do not contain any emulsifiers which are used in most commercial plant-based milks and that is completely normal.
Instructions
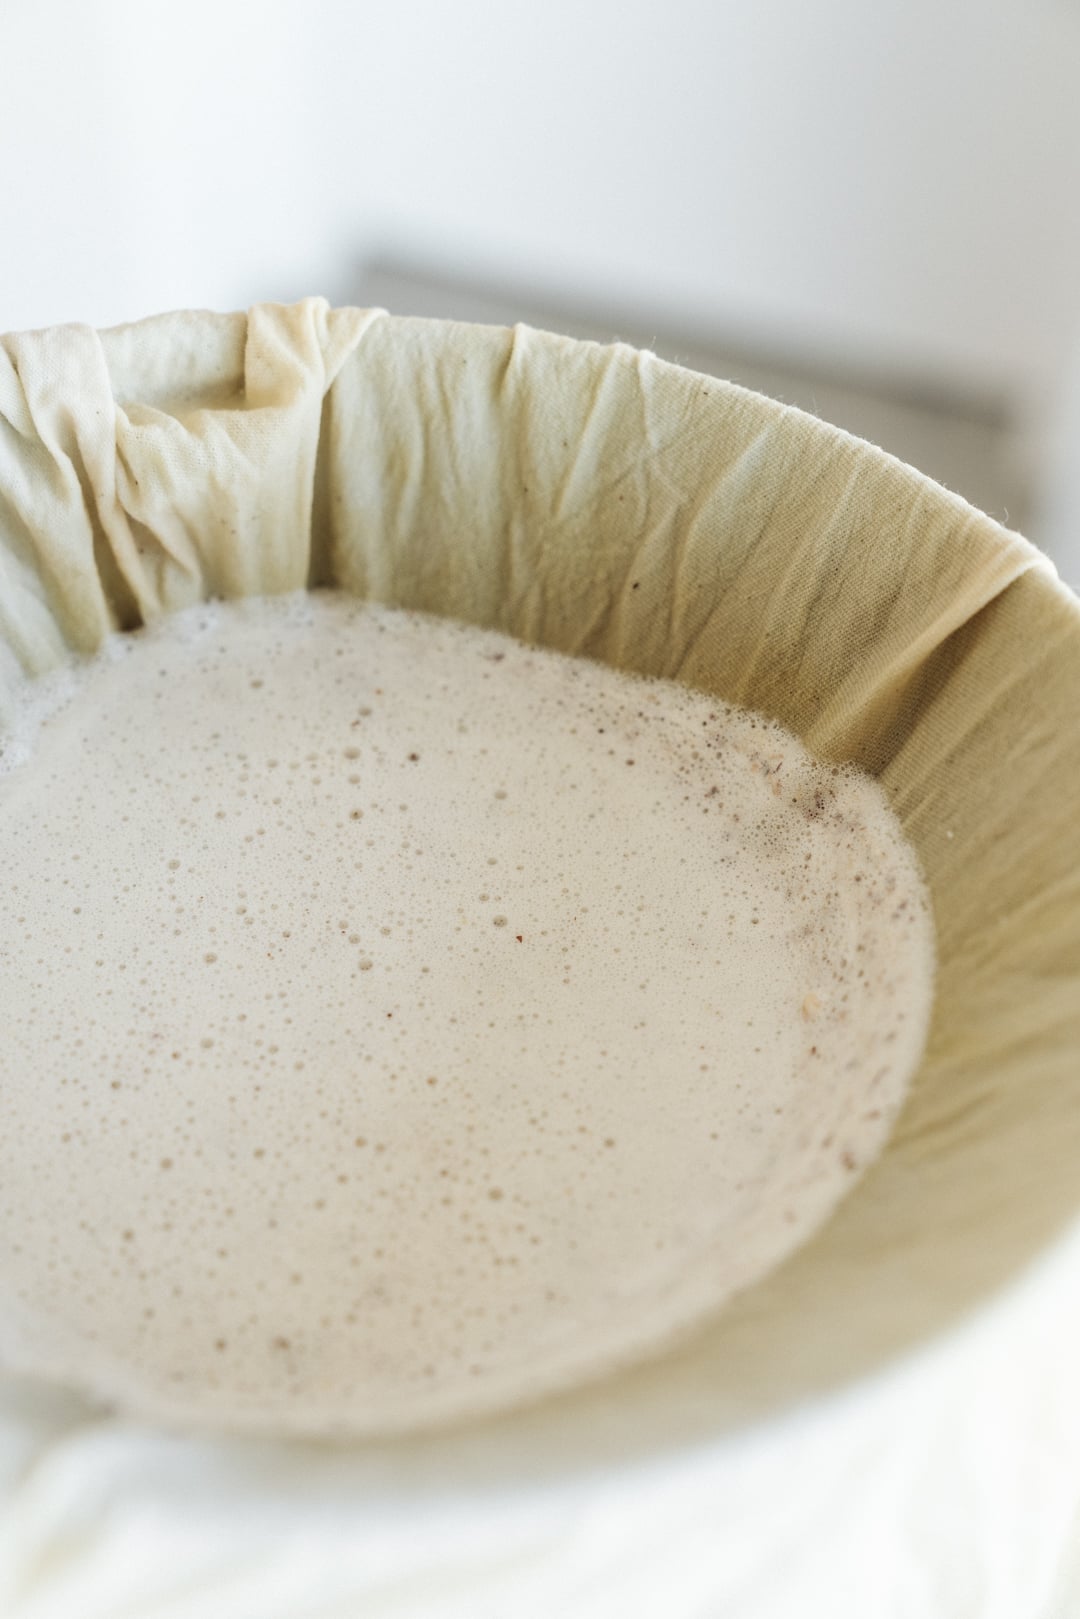
For nut milk made from hard nuts such as almonds or hazelnuts: soak nuts in cold water for 6 hours then drain, mix with 4 cups of water in a standing blender and process on the highest setting for 30-60 seconds (if your blender is very powerful, 30 seconds is enough, otherwise double the amount of time).
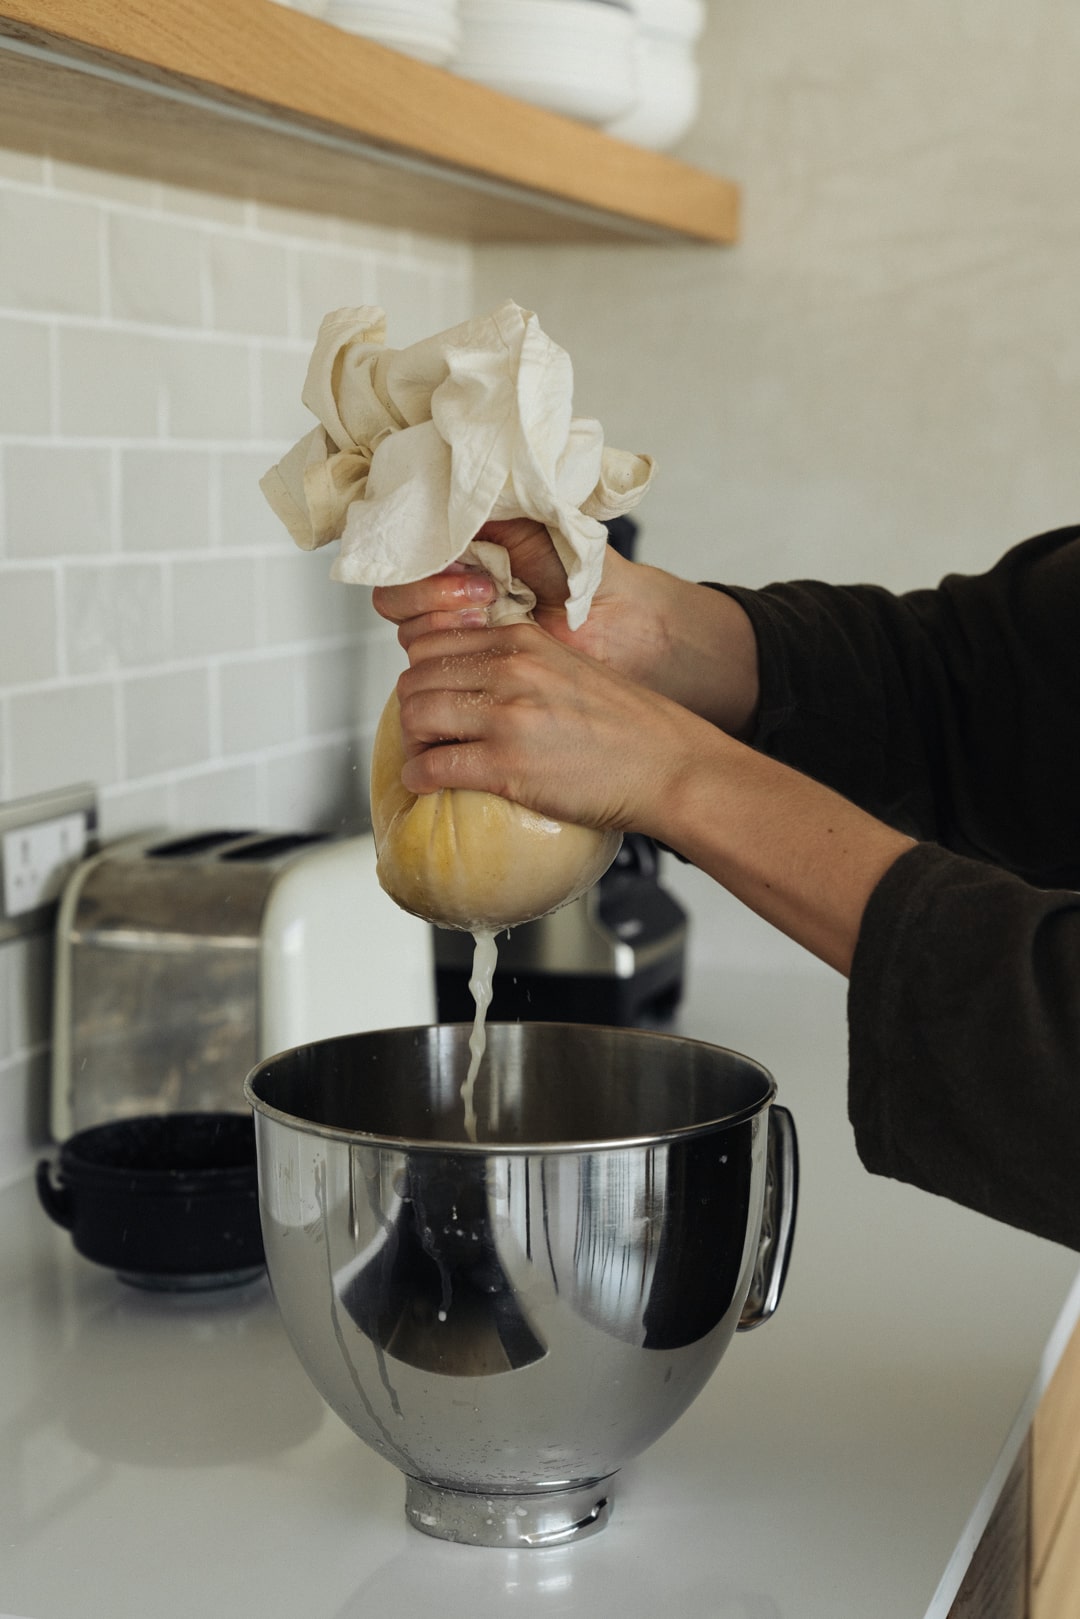
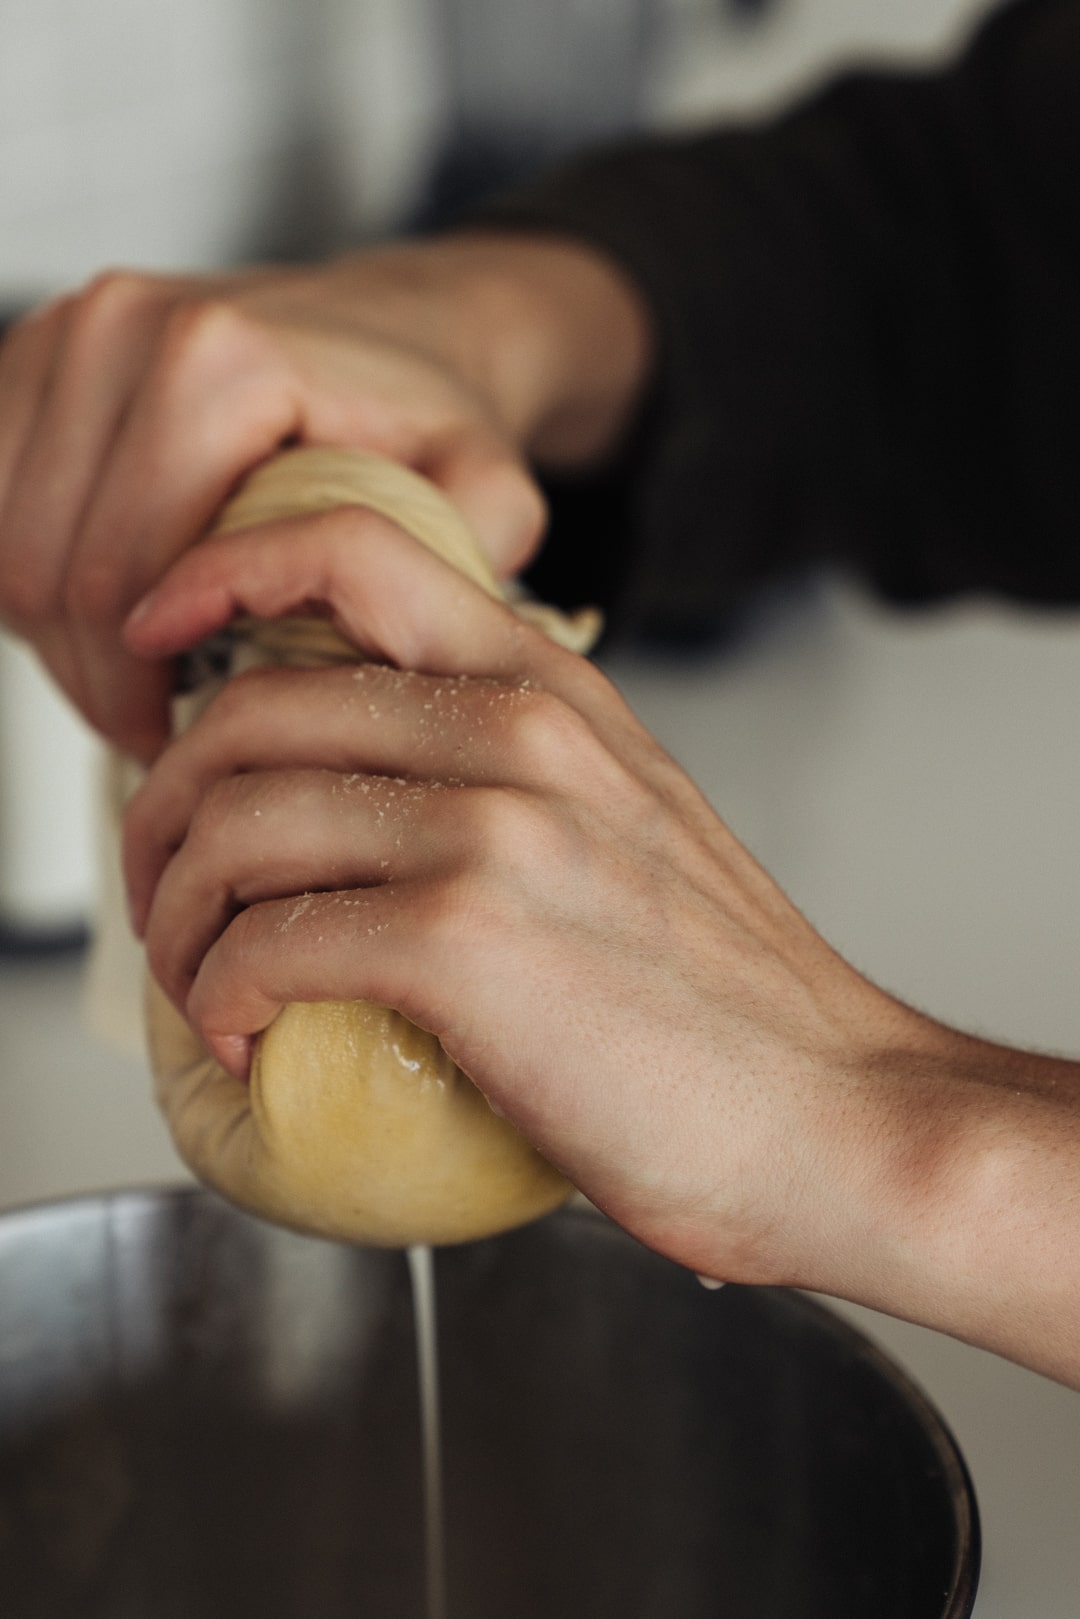
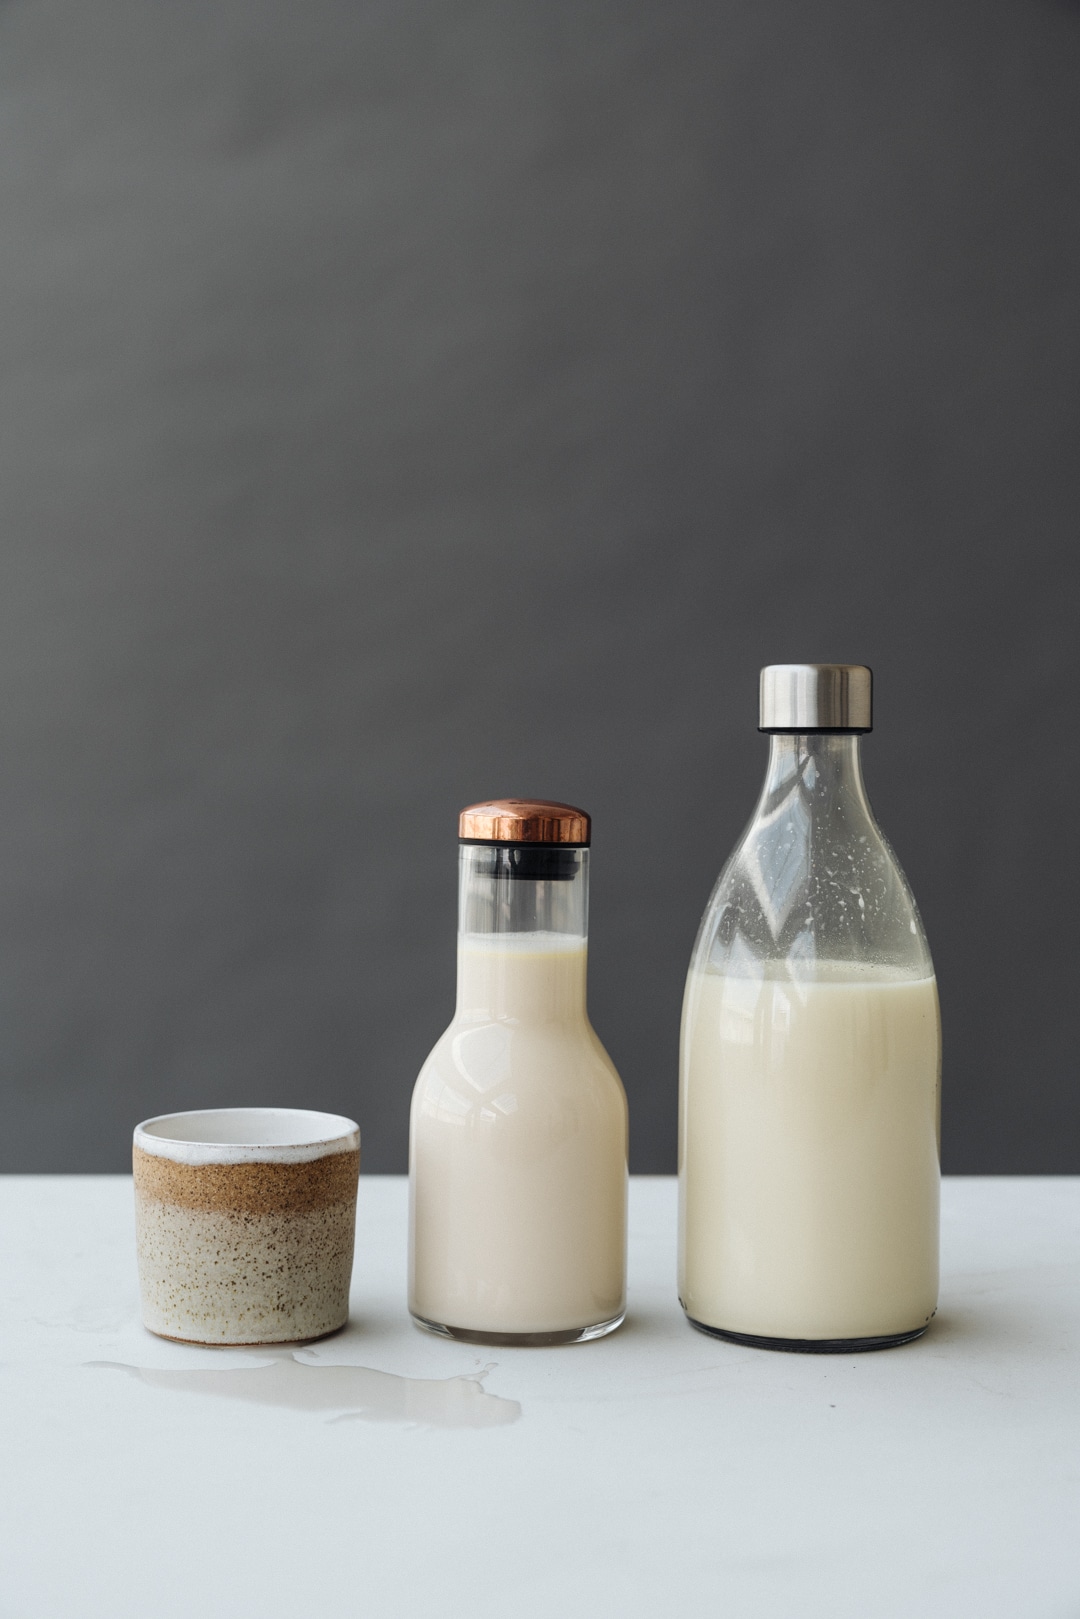
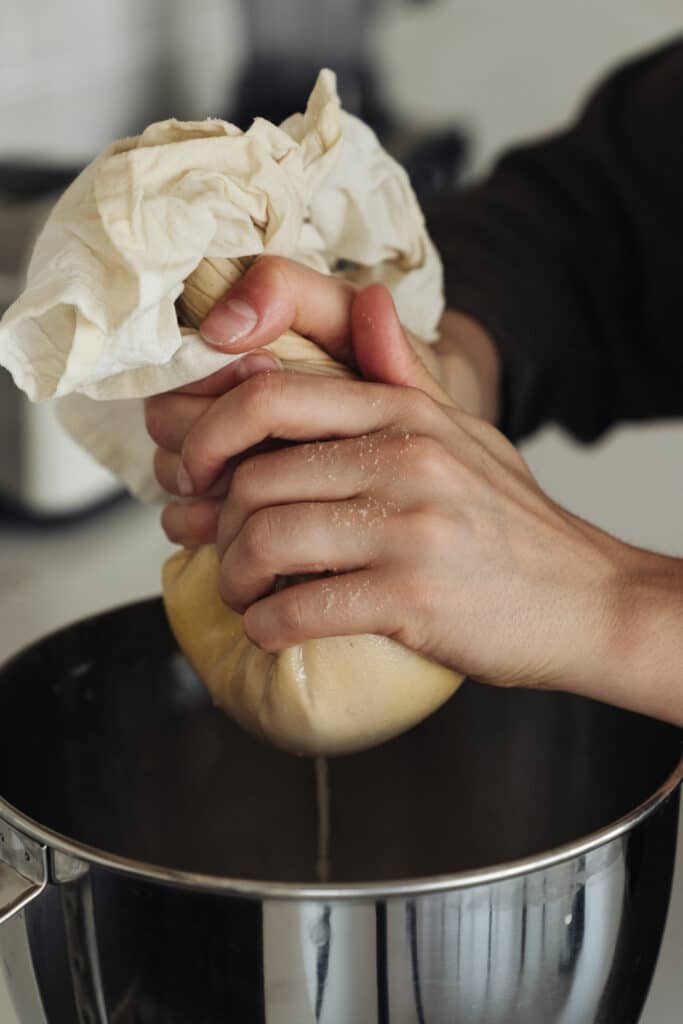
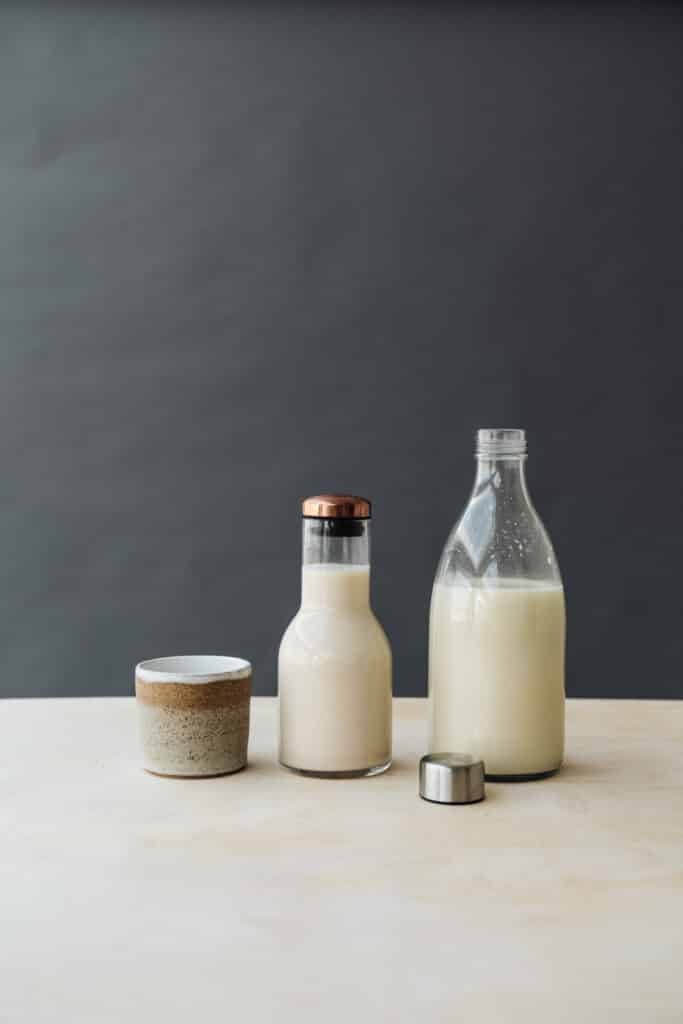
Strain through a very fine cloth – you can find special cloths for nut milks in most health food stores. Add a pinch of sea salt to taste and/or sweetener of choice if you like. Keep airtight in a glass bottle or jar in the fridge, consume within 3 days.
Julie’s Tip
Try experimenting with using roasted nuts for the nut milk. Simply roast them on a flat sheet in a 160°C oven for about 10-12 minutes.
Homemade nut milk will separate because it has no emulsifiers added. This is normal. Simply shake the bottle before use.

For nut milk made from soft nuts such as cashews 1-2 hours of soaking is enough but you can also skip soaking completely. Simply wash them and then place in a blender with 4 cups of water for 30 seconds (in this case the same amount of time for every blender should be enough). Strain through a nut milk cloth, season with salt and sweetener if you like. Keep airtight in a glass bottle or jar in the fridge, consume within 3 days.
Ingredients
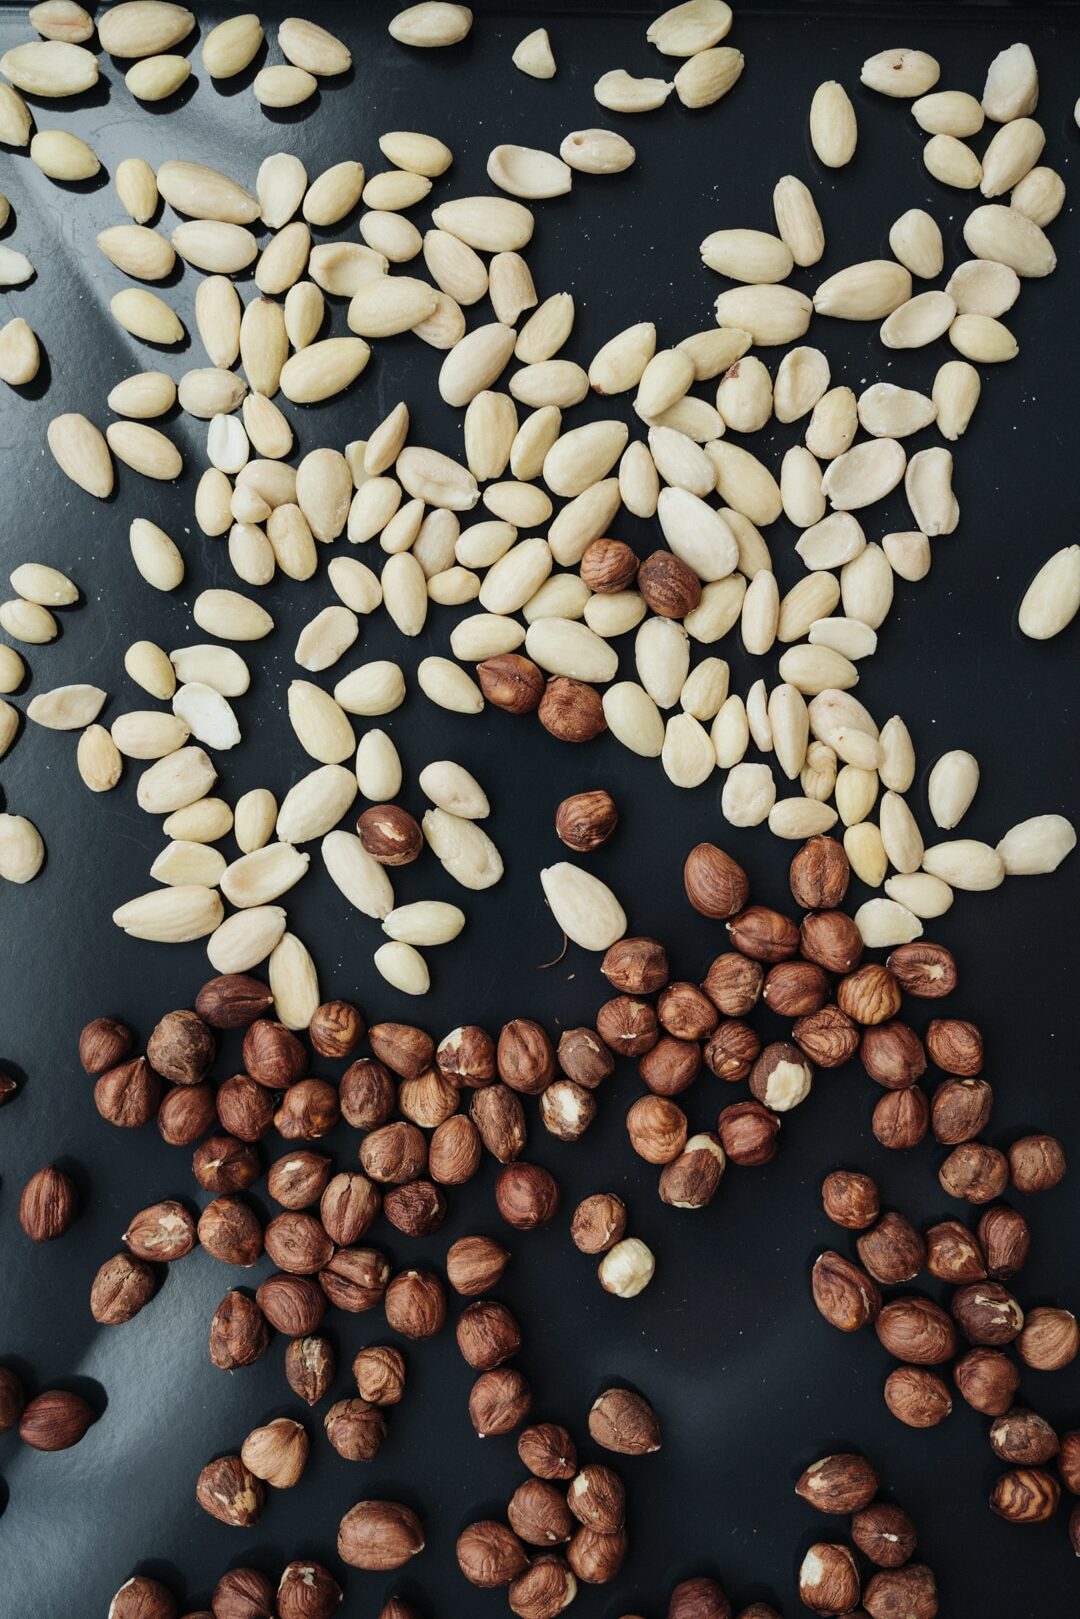
- 1 cup of nuts of your choice (almonds, hazelnuts, cashews, etc.)
- 4 cups of cold drinking water
Optional ingredients
- sea salt, to taste
- sweetener, to taste (maple syrup, sugar, etc.)


No reviews yet